Hello, Alfonso here a engineer in Kashika.
Today, I want to explain you how you can start using Gaussian Splatting very easy.
この記事の日本語版はこちら
例のクマのgaussian splatingデモも展示してます。 pic.twitter.com/eJC9IbRAkB
— 株式会社カシカ (@kashikacojp) September 18, 2023
Install Gaussian Splatting code.
First you must install several programs and libraries to be able to use Gaussin Splatting.
Hardware Requirements
- CUDA-ready GPU with Compute Capability 7.0+
- 24 GB VRAM (if you try small data, less vram is ok.)
Software Requirements
- Git
- Conda
- Visual Studio 2019 or newer
- CUDA Toolkit SDK 11.8
- COLMAP
- ImageMagik
- FFMPEG
Git, Conda, Visual Studio can be installed using regular Windows installers, just download the installer and follow the instructions.
CUDA Toolkit installation may be a little bit troublesome, for it we recommend the following guide here. Also remember to add nvcc (CUDA compiler) to your PATH.
Also, you must download and install Colmap here, ImageMagick here and FFMPEG here. After installing these programs you must add their installation bin folder to your PATH environment variable.
The next step is to clone Gaussian Splatting git repository using the following command :
git clone https://github.com/graphdeco-inria/gaussian-splatting --recursive
(The --recursive option is important, the Gaussian Splatting repository has external git submodules that must be downloaded too.)
Then, inside Gaussian Splatting folder, run the following commands (one by one):
SET DISTUTILS_USE_SDK=1
conda env create --file environment.yml
conda activate gaussian_splatting
This commands will create a Conda environment with all the requied libraries Gaussian Splatting to work. This environment will be called gaussian_splatting. So everytime you may want to use Gaussian Splatting you must use Conda to activate Gaussian Splatting environment like: conda activate gaussian_splatting.
Note 1. To run Conda do not use PowerShell use a normal Comand Prompt shell.
Note 2. If you have any trouble during installation we recommend you to check the following guide.
How to capture data
In our last guide here we explained that NERF uses SIFT (Scale-Invariant Feature Transform) to get representative points to estimate the camera position in space. Even if we are using Guassian Splatting, the process to get the camera position still uses Colmap, the same as Instant NERF. So, the captured images must have contrasting borders, corners or tips that SIFT can detect to estimate the camera position. NERF will no work correctly if the input images do not have features that the SIFT algorithm can detect.
Quick tips to capture the data:
- No holes. To avoid holes or clouds in the data, the capture must sweep the object on every angle posible.
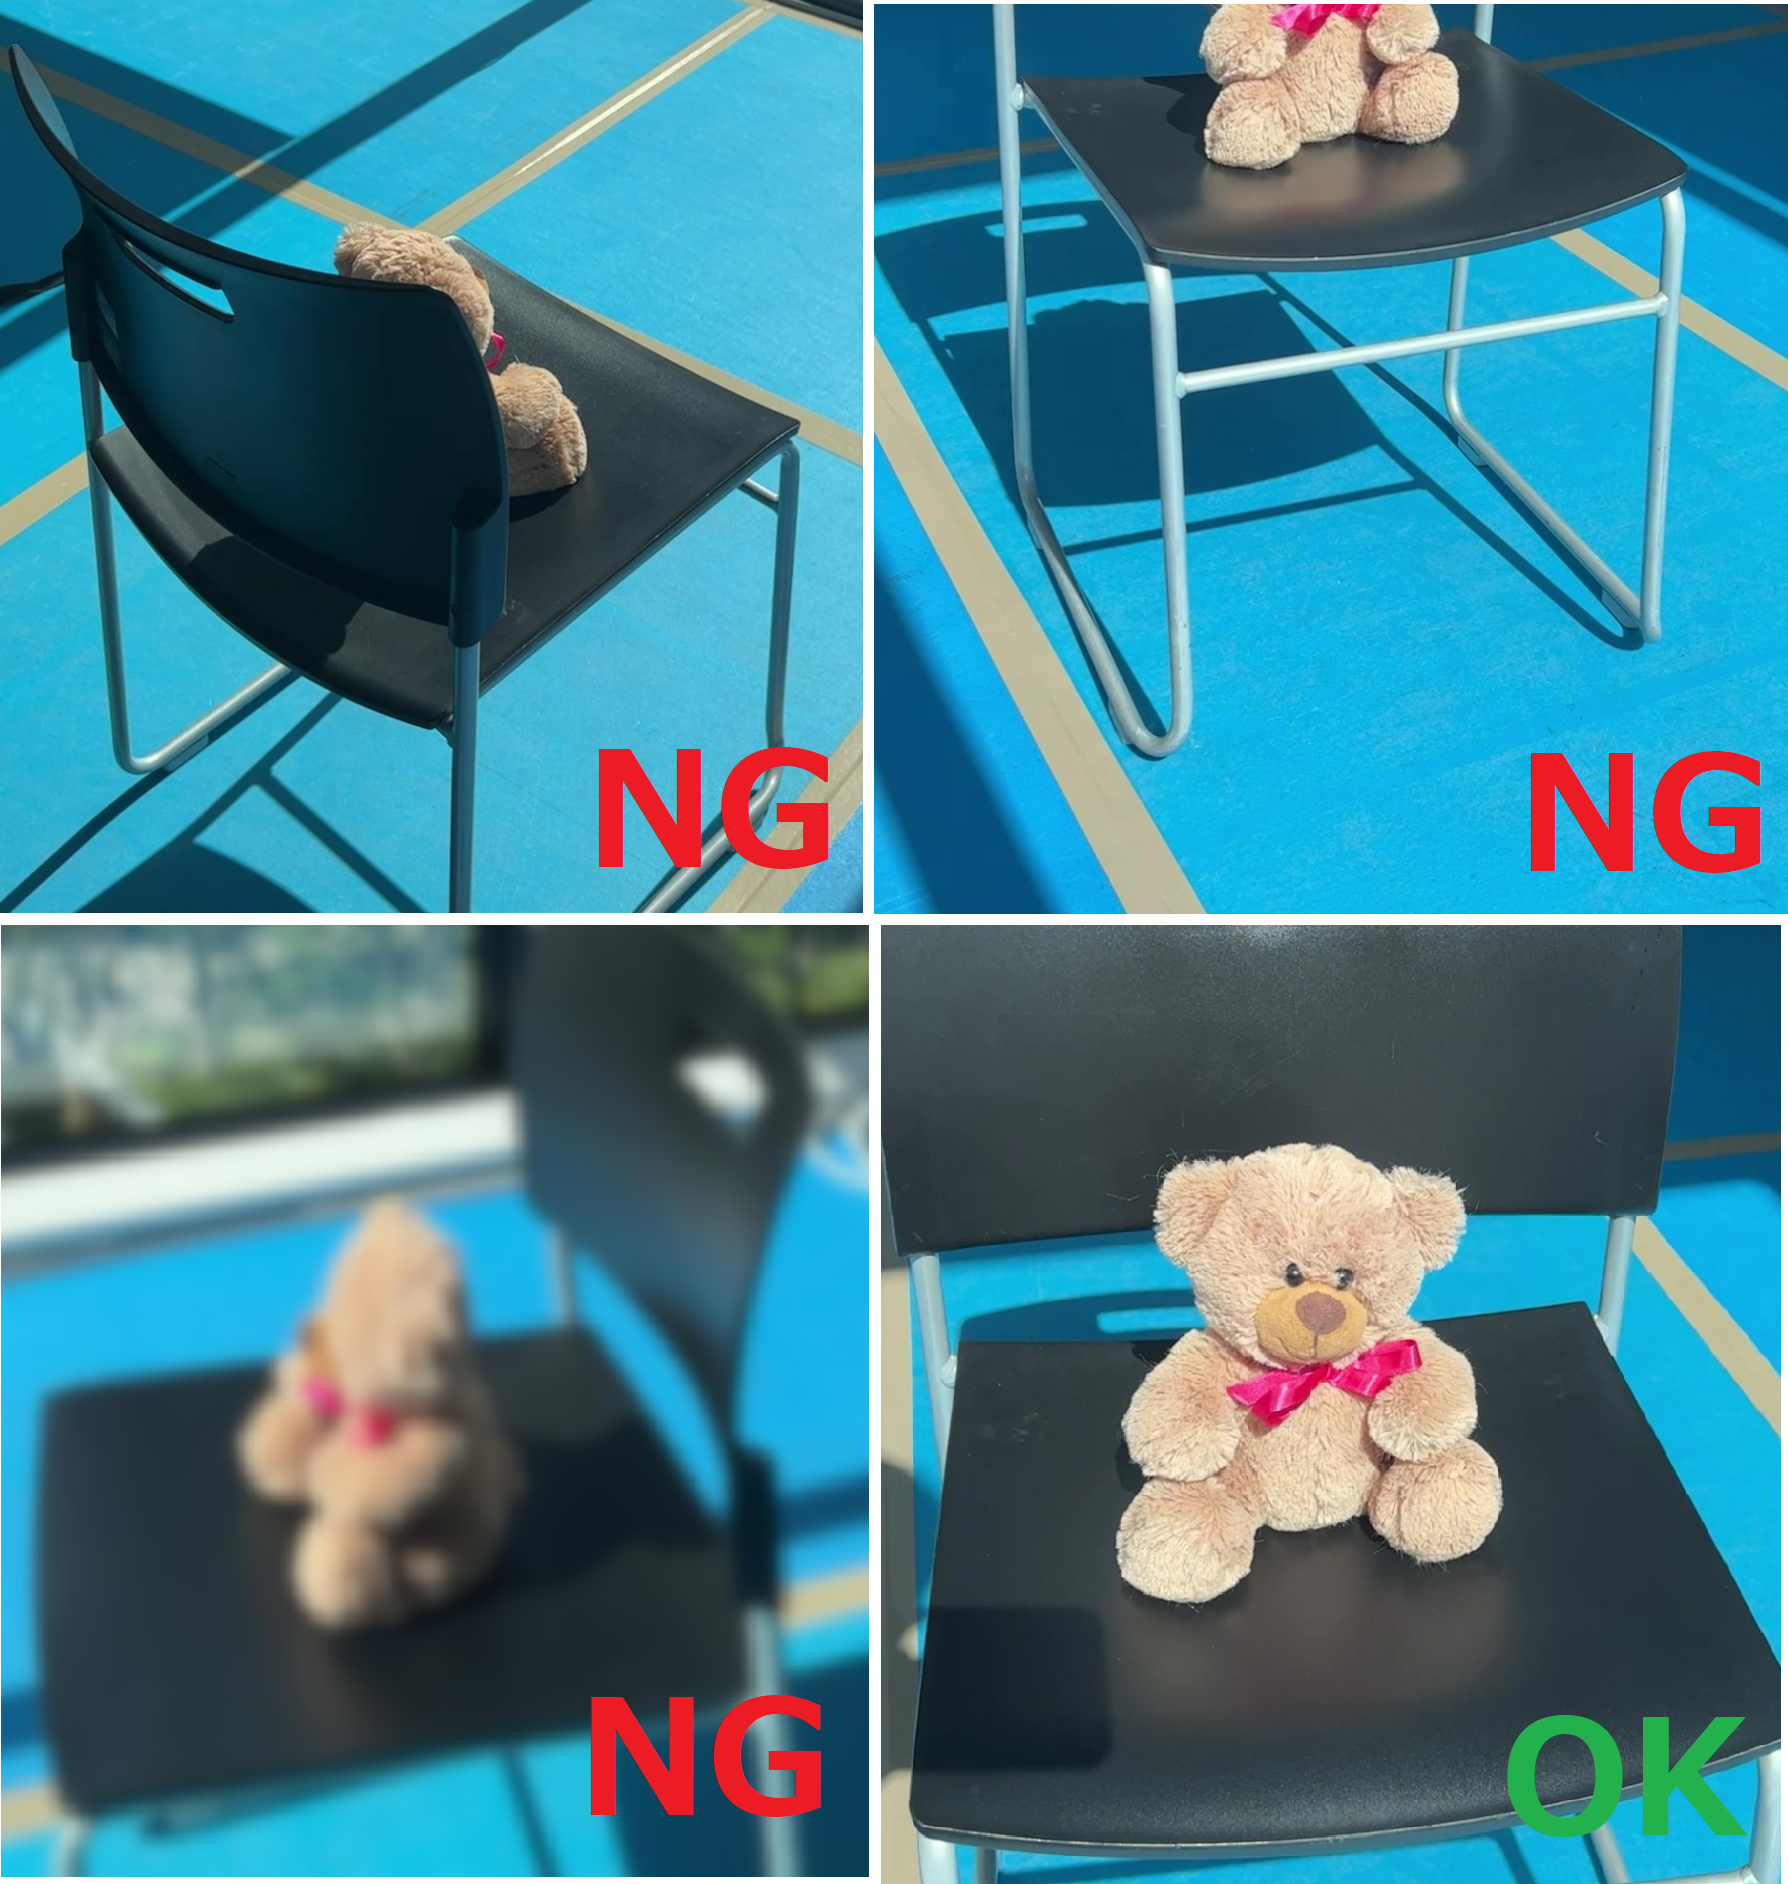
- Less is better. Manually select the images to use. Discard images where the object is cropped, out of focus or obstructed.
- Only static objects. Nerf can only handle static objects, keep the object static during capture.
Images from video (Optional)
You can use a video to generate Gaussian Splatting input images using ffmpeg. You can use the following command to extract jpg images from your video:
ffmpeg -i input_video.mp4 -qscale:v 1 -qmin 1 -vf fps=4 $04d.jpg
This command will extract 4 frames on every second and save the ouput images in JPG format, naming the files with 4 digit integer format.
Object Masking (Optional)
Optionally, you can isolate the object you want to scan from the background. The advantage of this is that the output model will be smaller and the reconstructed object will look more clear. For this we can use a python library called rembg here to mask the object from the background.
Inside the Conda environment use pip to install rembg :
pip install rembg[cli]
Then use the following command to process all the photos of a folder:
rembg p path/to/input path/to/output
Select the best pictures
Remeber to select the best looking photos. This is important, because a single wrong frame may cause a lot of noise in the reconstruction. In any of the images, the object should not be out of focus, clipped or obstructed.
View the trained model
The trained models are saved on output folder with a random folder name. Just check the folder’s date to check which is your model.
To view the trained model a special viewer is necessary. The compiled viewer is available here
Download and extract the viewer. Then run the following command :
SIBR_gaussianViewer_app -m output/random_folder_name
The final result should look something like this:
Old Car:
Bonsai (masked):
Bear (masked):